 I recently met this beautiful girl, Christine McSpedon. She is a Holistic Health Counselor from the Institute for Integrative Nutrition. I know; I asked the same question. She specializes in working with those who are transitioning into including more plant-based foods into their lifestyle and people who just want to eat what is right for them. Oh, I so need a health coach. To learn more about Christine and for a free health history visit her website at www.Christinemcspedon.com.
I met Christine while she was looking for the perfect gift packaging for chocolate truffles. I know; I asked her the same question. She makes the truffles herself. She told me that she began making raw vegan chocolate truffles to healthfully satisfy the sweet tooth of many of her clients. And then, one night at a networking party Christine’s truffles took on a life of their own . To her surprise people wanted to buy her truffles and NutsBalls Truffles was born. In between helping her wonderful clients achieve balance and wellness and rolling out boxes of chocolate goodness, Christine also hosts workshops on green smoothies and healthy cooking. She is my nutritional heroine.
I was able to extract from Christine the basic recipe for raw chocolate truffles. This recipe can be the solution to the infamous dessert Death by Chocolate, which leaves you, well, dead. These babies are raw, vegan, organic, and dairy & gluten free! Before you read the recipe, here are some kewl fact about raw cacao that Christine shared with me:
It Keeps you Young! Cacao contains the highest amount of antioxidants than any other food (including red wine!)
It’s Mineral Rich! Cacao is a high source of Magnesium, Iron, Chromium, Manganese & Zinc!
Enhances Mood & Concentration Cacao contains: • Phenylethylamine - a chemical group naturally produced by our bodies when we fall in love. • Anandamide -an endorphin also known as the “Bliss Chemical”. • Trytophan -an essential amino acid that produces serotonin
This is what you need
A food processor (or a Molcajete!) ¼ cup organic raw cacao powder 6 dried organic apricots ½ cup soaked raw organic almonds 2tsp warmed (so its liquid) organic coconut oil 2 tsp organic raw organic agave 1tsp warmed organic raw coconut butter ½ vanilla bean Pinch of pink Himalayan sea salt
This is what you do In a mini food processor blend cacao, vanilla bean, coconut oil. Add apricots and agave. Remove and put to the side. Process almonds until very fine. Using a medium processor /batches in mini or simply mixing with hands combine ingredients and mix adding coconut butter and salt. Roll into teaspoon size balls.
For different flavors try adding nutmeg & cinnamon (pumpkin spice), lemon zest, almond extract, coconut flakes. Roll in nuts, cacao powder or dip in chocolate.
I know; I asked her the same question. If you just want to try these delicious Nuts Balls Truffles, you can contact Christine for ordering information and current flavors nutsballstruffles@hotmail.co.uk or you can even call her 914.319.54.14

 and Humidity. Here is the run down in my own words,
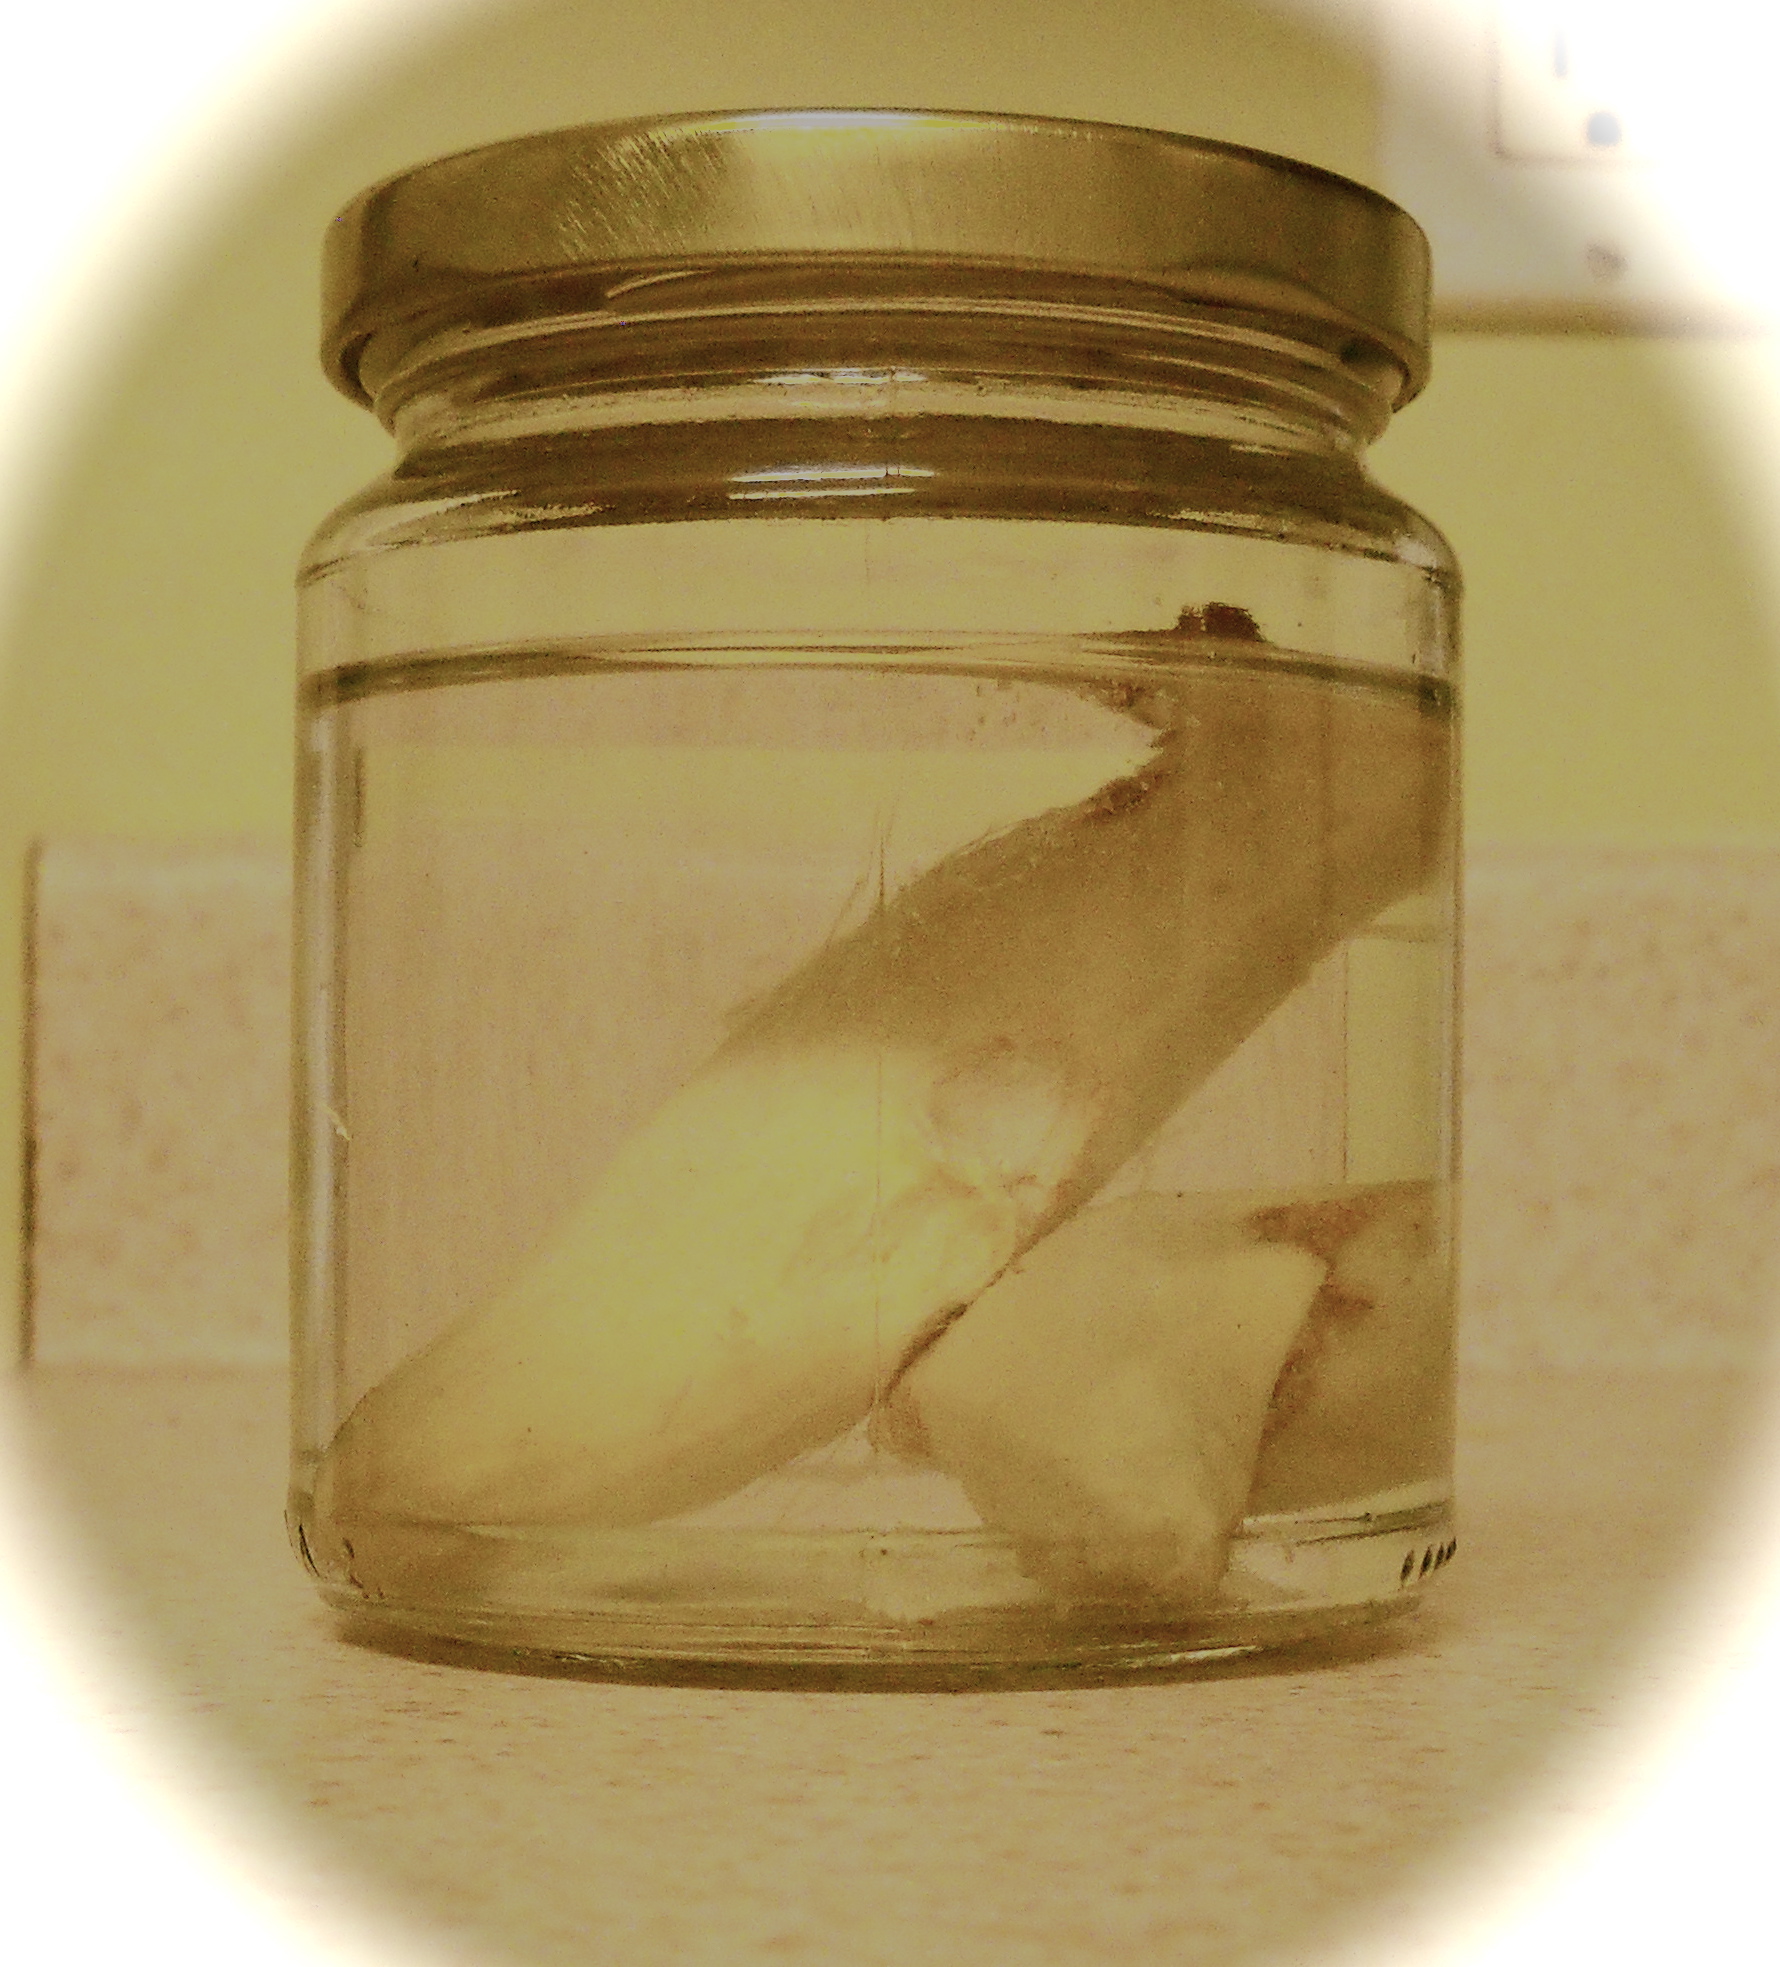 Whenever I can, I use fresh ingredients. One of my favorite flavors to add to any zesty meal is ginger root (by the way not really a root, but an underground stem or rhizome). Minced or grated, the fresh aroma of ginger root will evoke voluptuousness and its spicy flavor will delight you every time. Fresh ginger root is like the
  The winter months seem to move slower than the rest of the year, which I am always willing to emulate. The darkness, I thought, was an invitation to contemplate in the solitude of my home. And there is a lot of true in that. My thoughts about winter shifted recently, when my friend Lafy invited me to a walk in the park with her (look at her, how can you resist?) This new experience showed me that there is so much more active energy in winter than what I thought. There in the woods, walking with friends, there was a clam, peaceful, almost inanimate scene, but the energy around us was inquisitive, playful, and inviting.
This shift in perspectives is similar to what we may experience during Savasana (a yoga pose meaning corpse pose). In the traditional pose, the body lays face up on the floor motionless, very much like a corpse or your drunk roommate in college. By staying still for some time and keeping the mind quiet, one relaxes in a very conscious way. According to B.K.S. Iyengar, one of the world’s foremost yoga teachers, this is a very difficult pose to master. You can see why; even when we ask the body to stay still, the mind will move in all directions. Sometimes, when I want to practice Savasana for a longer period of time (10-15 minutes), I try a more grounding version as the one I describe below. This isn’t a replacement for the classical pose; one must think of this version as hiking in a winter wonderland with a great friend; something you may not want to do everyday, but you sure enjoy it every time.
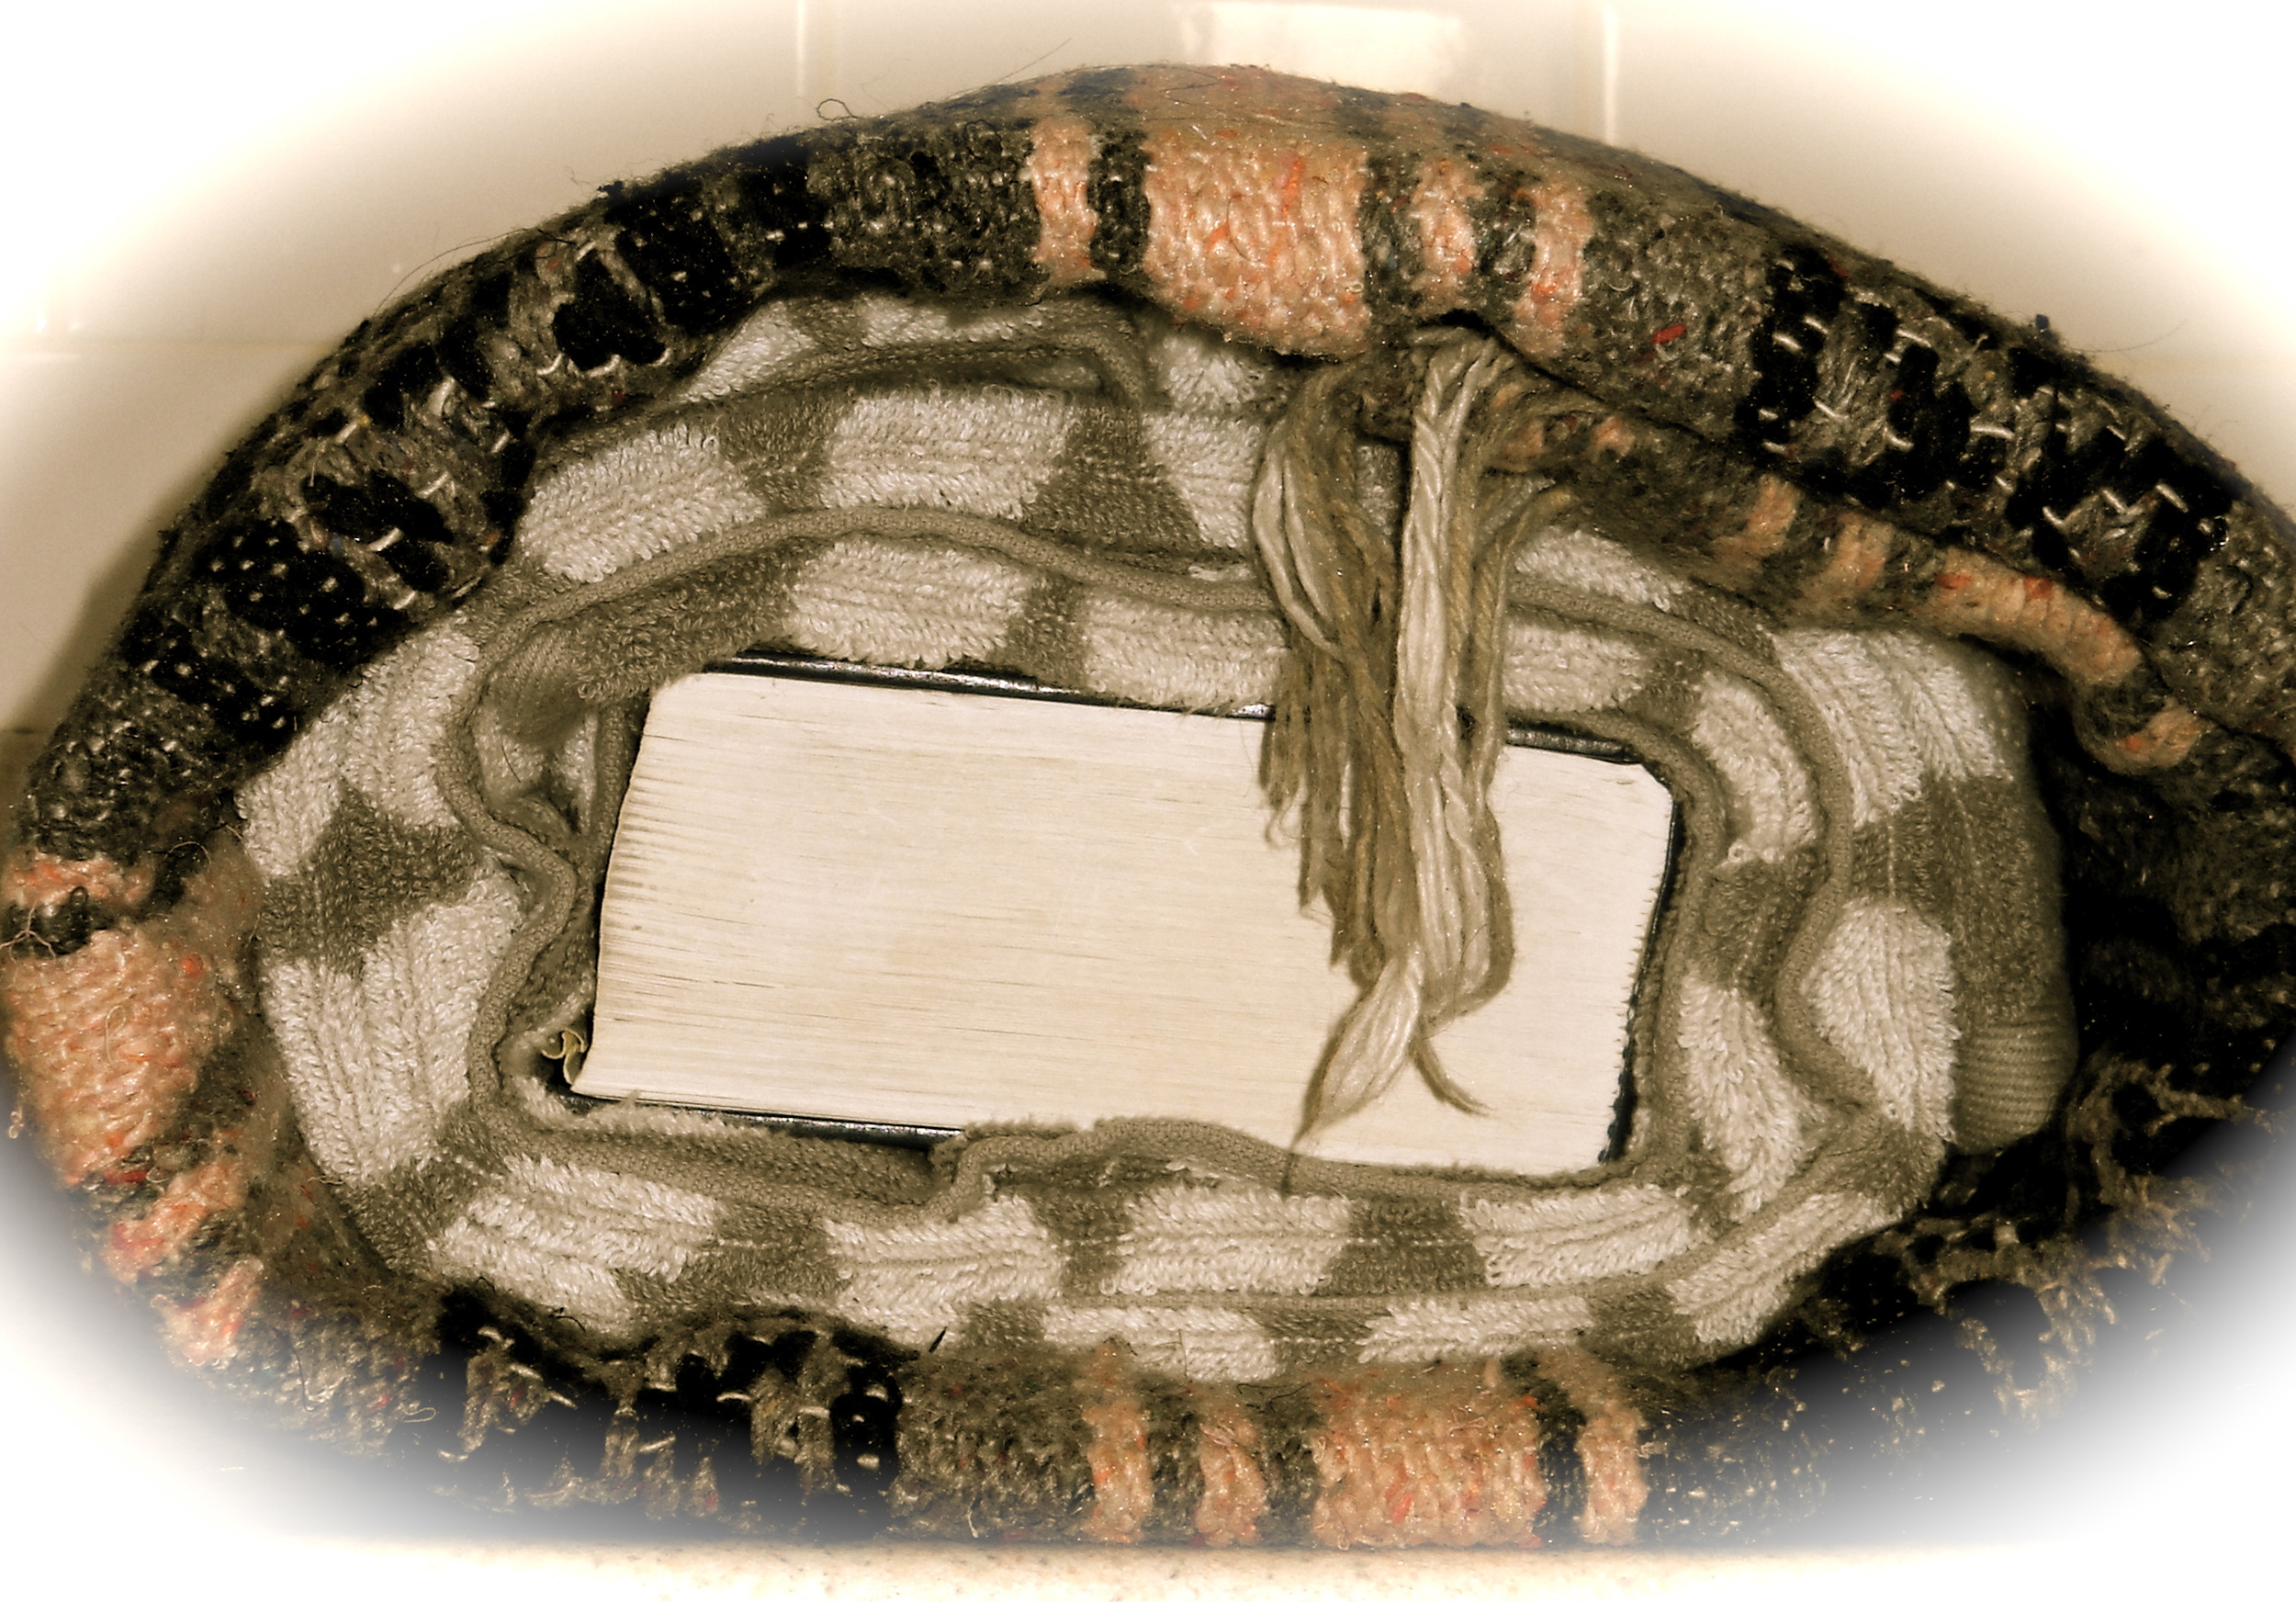
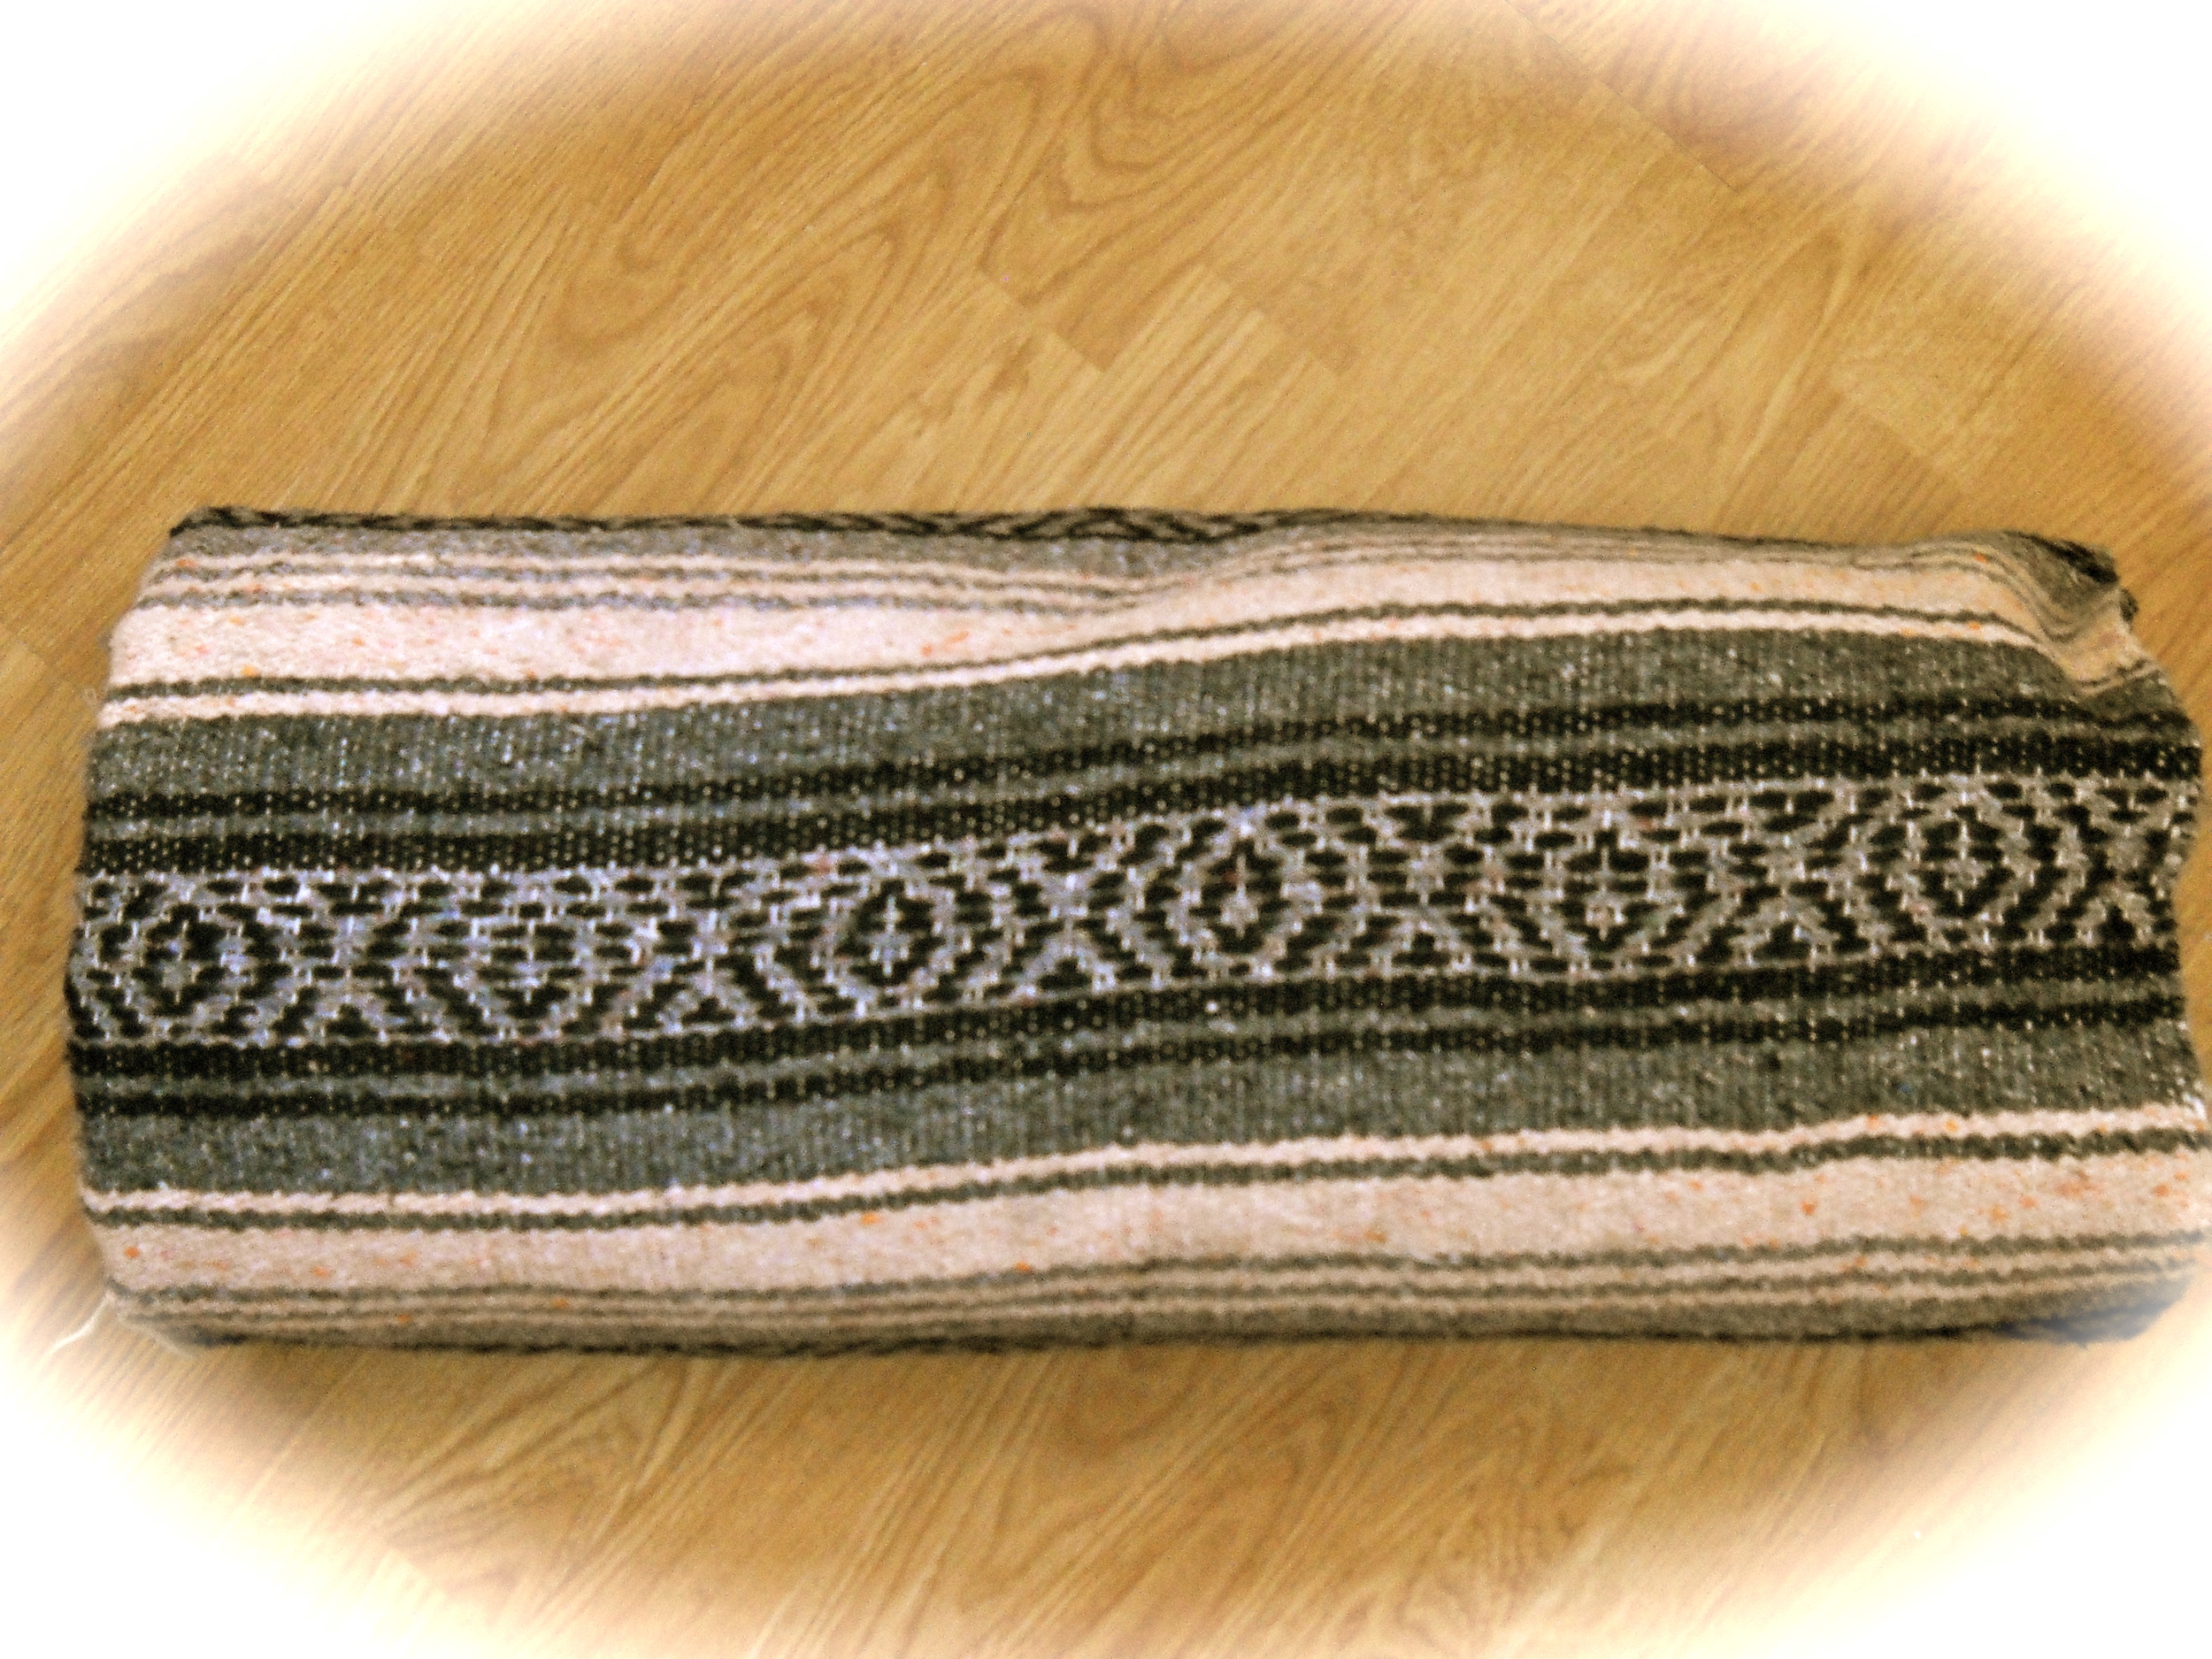
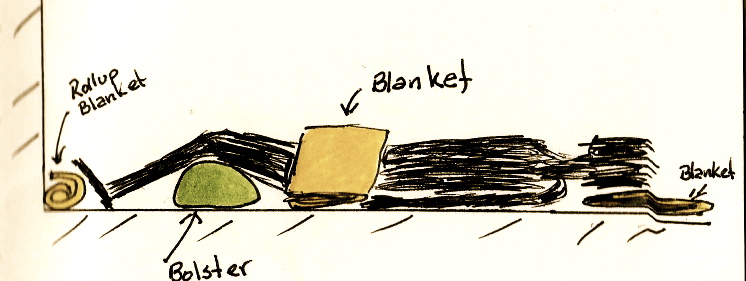 and place it alongside a wall. Lie down with the soles of your feet against the blanket. Place an additional rolled blanket or bolster under your knees. These actions will passively engage you calve muscles and allow the thighbones to move deeper into the hip socket (i.e., for