The Miracle of Committing to a Specific Action

In our noisy world we are constantly bombarded by infinite ways to be distracted.  We're are asked to stay connected all the time and to make room for introspection. We're asked to be fit and to carve time to restore and relax.  We are asked to be mindful and to multitask.  And that is just my inbox today. No wonder it's very easy to live in a constant state of confusion.  

It doesn't have to be that way.

Instagram @eduardolifegram

Instagram @eduardolifegram

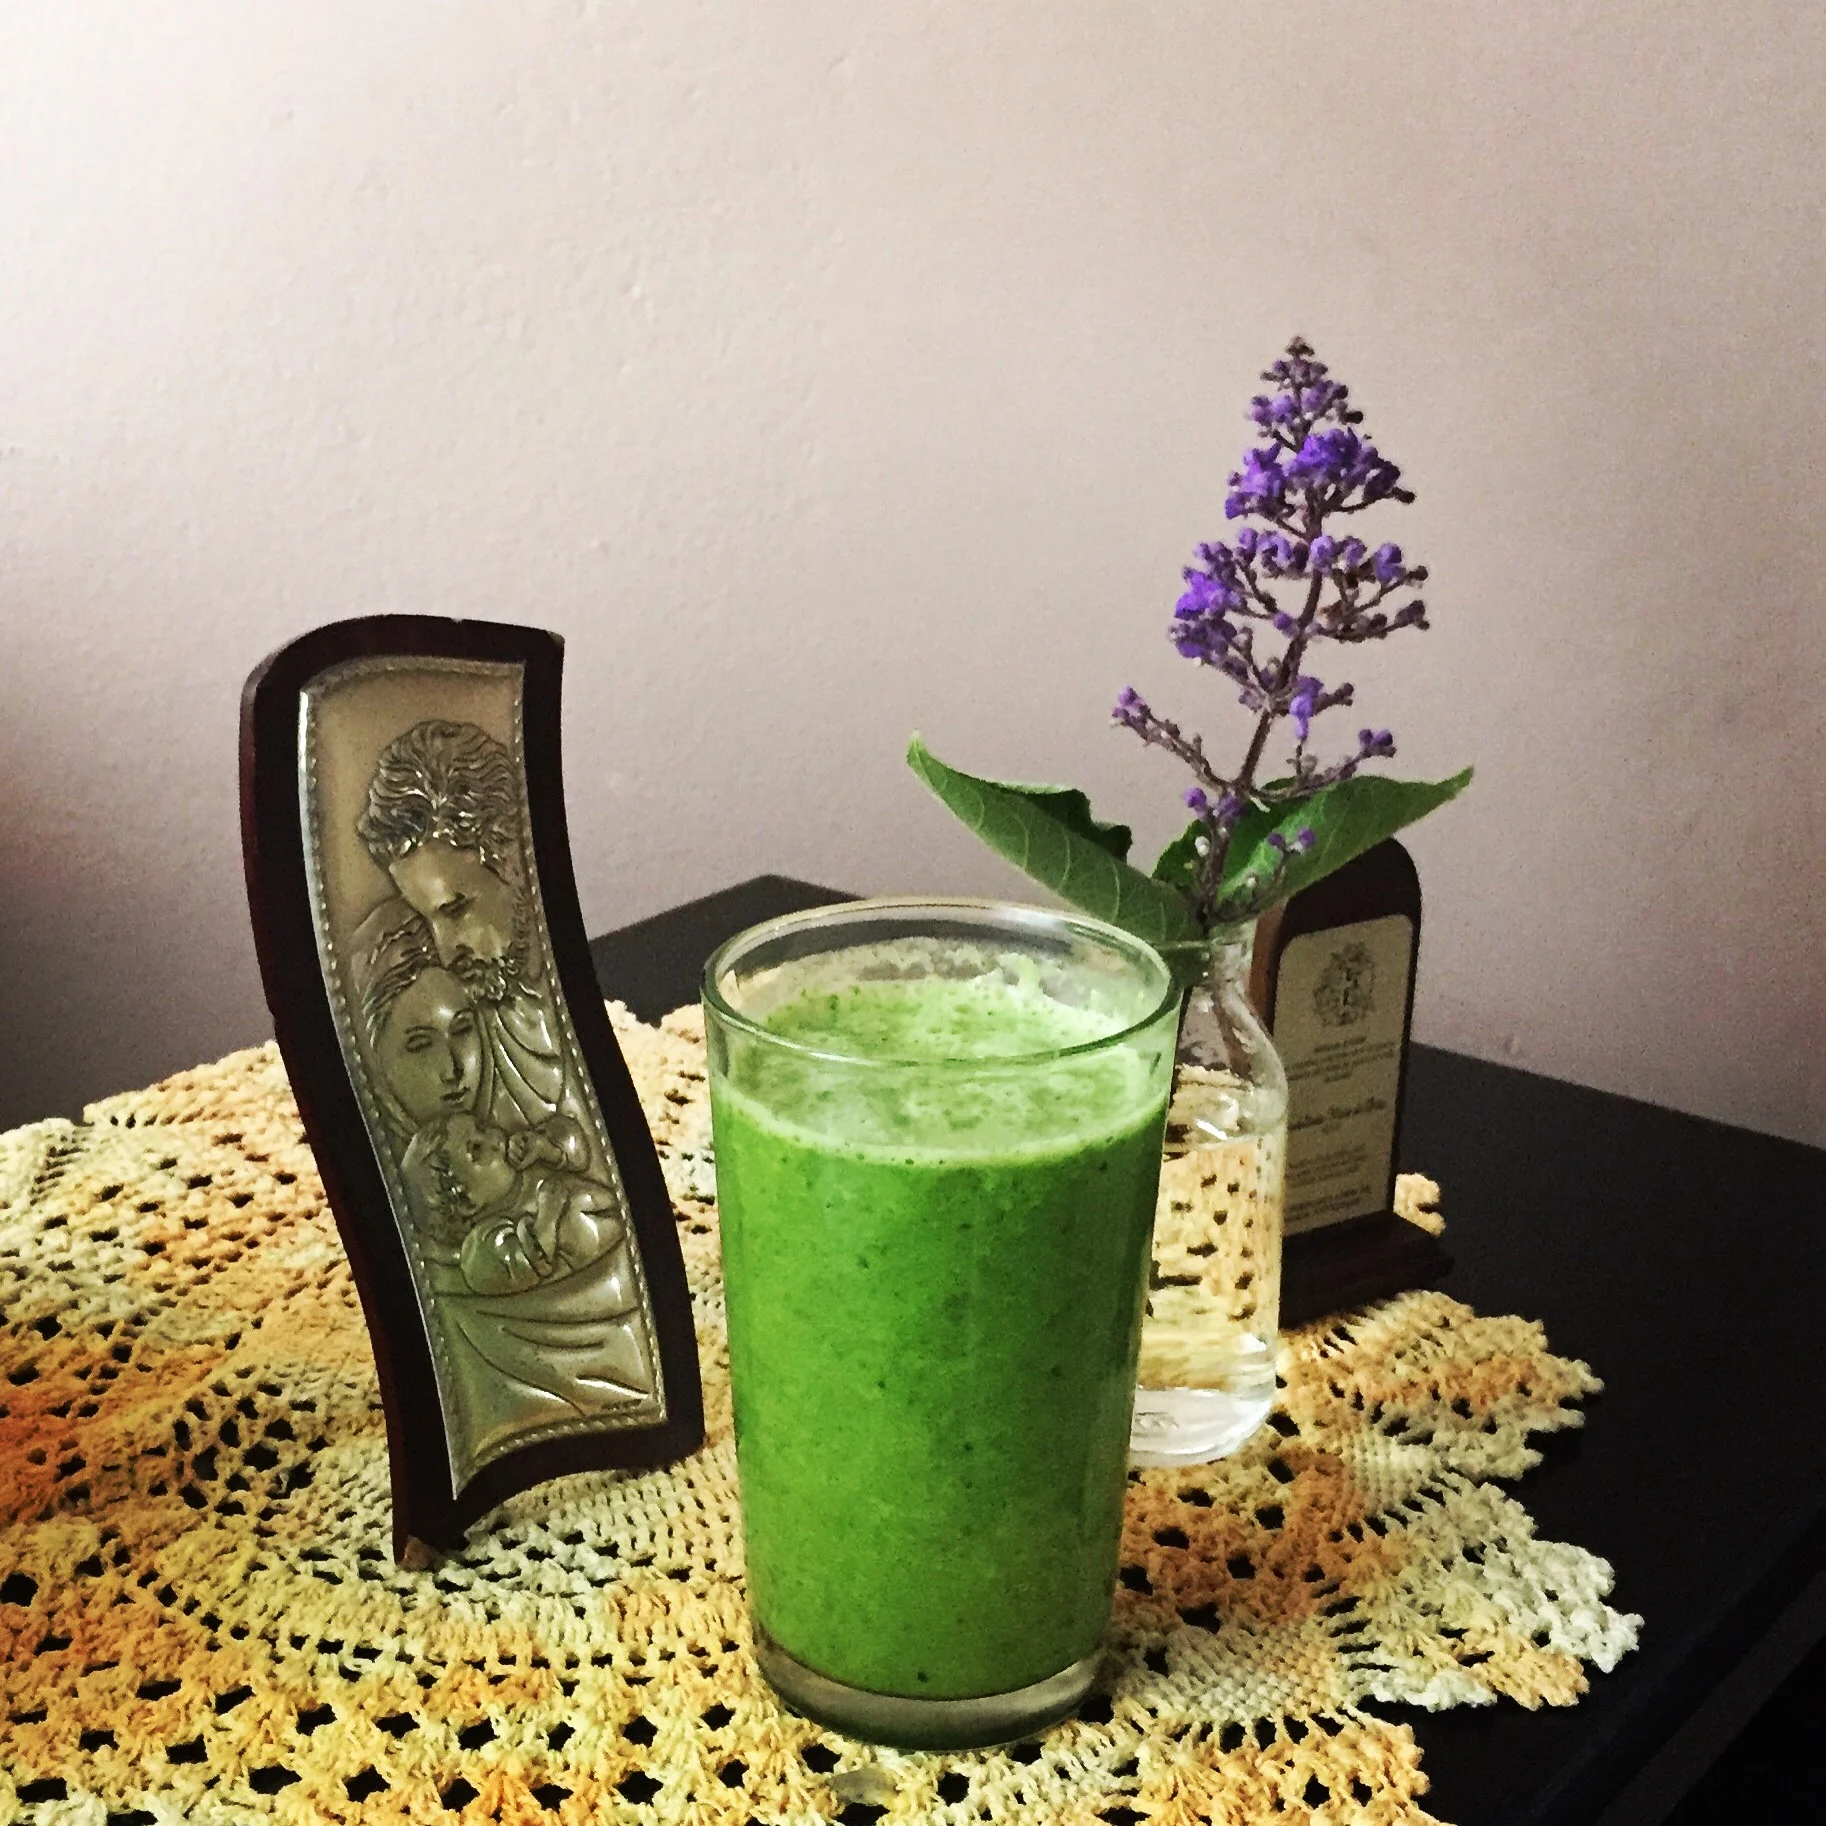
As I savor my green smoothie this morning, I'm thinking of the power of committing yourself to a single actionable goal.  You see, a few years ago I was having a hard time eating breakfast consistently and now for over a year, I have eaten a nutritious breakfast every single day.  As I type I can feel the nourishing Prana (life force) of my green smoothie hitting my veins and I'm reminded of an important life lesson that is often ignored:  if you commit to an action rather than thinking about a desire, you actually get to experience your intention.

The mistake we all make.

As soon as I began my yoga journey, I learned about setting intentions.  Simplified, your intentions are the energetic starting points for your goals.  If you come to my yoga class, as I learned it from my yoga teachers, I'll ask you at the beginning to center yourself and then set an intention.  The intention usually reveals itself naturally and in a simple form: "I will breath fully," "I will be strong," or "I will feel peace."  Whether in a yoga class or not, intentions are the seeds for our desired outcomes.

For example from my intention to "feeling nourished," I arrived to my goal of "eating breakfast."   I really wanted to honor my intention so I would think about "feeling nourished" every day.  Thinking about my intention did bring me to eat breakfast, sometimes.  I figured my spirit would guide my consciousness and it would unveil how breakfast would happen.  This resulted in zero progress and lots of self-disappointment.  Finally, I changed my strategy, I committed to plan my breakfasts for a week ahead of time.  I made the commitment by braking down my goal into small actions.  I studied options that would work for me.  I started focusing on the daily tasks that would make me eat breakfast till things aligned with my intention.

My mistake was that I assumed that because I wanted to eat breakfast to honor my intention, I would end up getting a desirable result.  That wanting to do something was enough.

How often do you do this in your own life?

We often think about our intentions without committing to goals . And if we have goals, we think about them without breaking them into specific actions.  The bottom line is that without an action we won't experience our intention.  We want to "be of service" without committing our time and talents to helping others.  We want to "feel strong" without considering what part of our body we want to focus on and what exercises we'll be doing.  We wish to be "more creative," but we never work or finish a particular project.   In other words, we don't commit to a specific goal: a goal with tasks and a time frame.

Specific Actions Lead to Direction

All those intentions we set for ourselves will point us to important, but broad questions "what should I do with my life?" or "will I learn what love is?" or "how is God guiding me right now?"  Very important questions in our spiritual quest but non of these questions will clarify our next step.

When you commit to action driven goals, these are easy to break into tasks and then the steps are clearer to follow. You want to eat a nutritive breakfast tomorrow morning?  Next step:  what will constitute a nutritive breakfast?  So you found out what you want to eat? Next step:  do you have the ingredients at home or do you need to stop at the market?  OK, you got the ingredients? Next Step: how long will take you to prepare breakfast? At what time do you need to wake up? etc., etc.

Your intentions are important as a way to honor your deeper self, but if you only concentrate in your vague desires vs. specific goals, you'll end up confused and frustrated.  

Once you begin to commit to specific actions that work towards your goals, these will inform you of your next step and then the next, etc.  

So often, we avoid formulating a specific goal out of fear that we aren't sure if this goal will align with our intentions. We somehow forget that we can always change our mind later on.

This is perhaps the miracle about committing to a specific goal: if you concentrate in the actions to achieve your goals and not the goal itself, then you’ll begin to thrive and achieve something greater than you ever imagined.

Commit to something and begin it now.

Once you fully decide to start, to paraphrase Pablo Coelho, the universe will find ways to help you finish.

Roasted Vegetables - Celebration of Earth

I have been cooking variations on this basic recipe for over twenty years.  And after all these years, I still get excited just thinking about it, which tells me it's a keeper.  I call it Celebration of Earth but you can call it Roasted Root Vegetables if you want, I guess.

I find it to be a perfect recipe for Autumn transition months like September and October when your body asks to be grounded.  This is so easy and delicious though that I keep using seasonal root vegetables all the way through Winter and Spring. Your gastrointestinal track will be very grateful with you too!

Pre-heat oven to 400 F.  Serves 10

4 small turnips, peeled, halves, sliced

4 medium parsnips, peeled, sliced

2 lbs of Brussels sprouts, brown ends cut off

2 medium sweet potatoes, peeled, quartered, sliced

2 medium red beets, peeled, quartered, sliced

1/2 cup of olive oil + 1/2 Table spoon of lemon juice + salt to taste

1 handful of fresh cilantro leaves, chopped

1- In a large bowl, combine vegetables, oils, salt and lemon juice.

2- Spread evenly onto two backing sheets (I cover min with parchment paper)

3- Roast till brown.  It takes about 45 to 50 minutes *stirring every 15 minutes or you'll end up with burn vegetables*

4- Let it cool and sprinkle with cilantro leaves.  I suppose you can transfer to a bowl for a nice presentation, but I bring the trays directly onto the table (oven to table style!)


Posted on August 29, 2016 and filed under Ayurveda, cooking, inspiration.

All Natural Fascial Cleanser

This DIY all-skin-type facial cleanser recipe is an extra gentle cleanser that will whisk away everyday impurities without stripping your skin of essential moisture.  The essential oils in it also work to sooth and soften your complexion.   Healthy looking skin at a fraction of the cost your typical department store formulas.

Through my years in the chemical industry, I worked with various surfactants (soaps) so based on what I know and my experience I recommend liquid castile soap.  To make sure it is right for your skin sensitivity, use unscented/baby formula.  Castile soap is known for its gentle cleansing and emollient qualities.  Most commercially available soaps, cosmetic and otherwise, are made with sulfates with the addition of alcohols or acids, which make them really efficient at eliminating dirt, but also at stripping away organic compounds, including the mantle on your face, which, if you’re like me, you intend to keep. 

To complement the cleansing properties of castile soap,  aromatherapist recommend combining therapeutic grade essential oils with your cleanser.  For its soothing and cleansing properties I use lavender essential oil and rosemary essential oil.  If you have specific needs, you can consult with experts to target your condition.

I normally use about 8 ounces of soap in each recipe. This gives a nice full bottle of facial cleanser that will last several months.  With each 8 ounce bottle, I add between 35-40 drops of essential oil. This is a less than 1% dilution.

In a 10 oz amber glass dropper bottle add

*As with any soap, you’ll want to avoid getting it in your eyes. Liquid castile soap can sting and burn if it does get in the eyes.

Younger Looking Skin: the best Natural Tips for Detoxing your Skin

Our skin is a reflection of our inner physical and mental state.  What I've learned from all my years of Yoga practice, Ayurveda’s studies and my work in the chemical industry is that skin care requires way more than expensive potions and lotions.  In other words, your skin tells the story of your alignment with nature and this alignment is the key to radiant skin.  

Panama Blend (traveling green smoothie)

One of my favorite things about green smoothies is that they are the easiest way to diversity your intake of nutrients for breakfast.  This is even more relevant when traveling, when your body's wisdom craves the surrounding flora.  If there is a blender available, I don't waste the opportunity to visit the local markets (and yards) and feast on the regional chlorophyll. 

I was recently traveling through my homeland of Panama, where the local cuisine isn't rich in greens so I took it as challenge to find ingredients for what turned out to be a fabulous green smoothie.  So hoping that it will inspire you in your next "green" travelings, here is the recipe:

Ingredients (2 servings)

  • 4 cups of spinach (not a lot of local greens available in the market, but watercress and spinach grow easily in most tropical regions)
  • 1 banana (tons of fruits available, but I opted to keep it simple)
  • a handful of local spearmint + wild cilantro (these I found in my mom's backyard...wild herbs taste so WILD, you can taste the Prana or life force on these local beauties)
  • 1/2 an avocado (this is a gingo luxury! but I deserve it)
  • 1/2 tsp of minced ginger
  • 1/2 tsp of turmeric (no local turmeric roots available but I was craving some astringent flavors, local stores carry tons of spices so if fresh ingredients aren't available, improvise)
  • 1/2 tsp of sea salt (local sea salt made this a fun ingredient to add)
  • 1 Tbs of local eucalyptus honey (yummm!!!)
  • 1/2 cup of water 
  1.  Add all ingredients to a blender.  Blend!  I don't like cold smoothies but you can add either a frozen banana or ice instead of water.  Enjoy.

Red Lentil Soup with Caramelized Onions

I know Summer isn't a traditional season to be thinking about hot soup, but I happen to work in an office that is kept at sub-zero temperatures for the same reason that offices across American suffer from the same Tundra conditions: insanity!  Soups are a low sugar/high fiber way to satisfy hunger and keep you warm.  One of my all-year-round go-to soups is lentil soup.

Lentils are high in protein and high in fibers.  According to an article in Medical News Today, "many studies have suggested that increasing consumption of foods like lentils decreases the risk of obesity, diabetes, heart diseases and overall mortality while promoting a healthy complexion and hair, increased energy and overall lower weight."  Lentils can be found in red, brown and green varieties.   I love them all, but I find that split red lentils are quick and easy to prepare when compared to other beans so this soup recipe is non only  accessible, fast, inexpensive and a high -quality protein source, but it's also warming, satisfying and easy to freeze - a huge time saver for those of us with busy schedules and lack of cooking inspiration.  

Serves 4-6

  • 1 tablespoons of coconut oil (I use Olive Oil in colder month, but an Ayurveda trick is to use coconut oil for cooling)

  • 1 small yellow onion, diced

  • 1 celery stick, diced

  • 1 carrot, peeled and diced

  • 1 small piece of fresh ginger, peeled and minced

  • ½ teaspoon turmeric powder

  • ½ teaspoon coriander powder

  • ½ teaspoon cumin powder

  • 2 yellow beets, peeled and diced

  • 6 cups of water or store-bought low-sodium vegetable broth (MSG-free, gluten-free) version

  • 1¼ cups split red lentils which you have soaked overnight, drained and rinse thoroughly.

  • 1 teaspoon sea salt, plus more to taste

  • ¼ teaspoon pepper, plus more to taste

  • 1 yellow onion, thinly sliced

  • 1 Tablespoon of olive oil

  • 1 tablespoon of fresh thyme - optional


  1. Important- The night before (or at least two hours before if using split lentils),  soak the lentils at room temperature.  Then drain and thoroughly rinse them.  This will remove gas causing enzymes from lentils -yes even the split ones.  There is science to back this up but trust the Ayurveda wisdom on this one.

  2.  Heat a medium-sized saucepan over medium-high heat and add 1 tablespoon of coconut oil. When it dances, add the diced yellow onion, carrot, celery, turmeric, cumin, ginger and coriander powder.

  3. Cook until the onion soften and the mixture becomes aromatic, ~3 to 5 minutes. Sofrito style for those Caribbean brothers and sisters.

  4. Add water or vegetable broth and bring the mixture to a boil. Add the red lentils and reduce the heat to a simmer. Season with salt and pepper and continue cooking at a simmer for 15 to 25 minutes, or until the lentils are soft and the vegetables are tender.  Stir and monitor every five minutes so lentils don’t stick to the bottom of your pan.

  5. Prepare the caramelized onions while the soup cooks. If using thyme, remove the leaves from stems till you accumulate enough thyme leaves.

  6. Heat a medium-sized skillet or frying pan over medium-high heat, add 1 tablespoon of olive oil, and heat until the oil dances. Add the onion, cook for 3 minutes and reduce to low temperature.  Add thyme..

  7.  Keep the heat low so the onions begin to brown, stirring often so onion won’t stick.

  8.  If the onions start sticking to the pan, add a bit of water. Continue cooking for 15 minutes or until the onions are caramelized and golden brown. Season with a pinch of salt and pepper.

  9. Fill bowls with soup and top with a tablespoon of onions and serve, or simply stir the onions into the soup.

Unroll.Me: a free tool to manage your inbox

As organized and streamline as I am in my virtual world, keeping up with the e-mail inbox can generate anxiety to even the most zen of individuals.  "I just went through my inbox, why do I have unread messages?!!"  Maybe you too find that the majority of messages in your inbox are subscriptions to your favorite stores, newsletters, and/or periodicals.  You may also wonder like I did, how could I streamline my inbox so that I only see my "real" correspondence without having to give up my beloved subscriptions ?

Someone recommended Unroll.me, this service available as an app or via one's desktop, helped me unsubscribe from unwanted email subscriptions, discover new ones and organize them all in one place.  Time saver galore!!! 

No good for you if your e-mail isn't in English or if your e-mail provider isn't supported (i.e., Unroll.me currently supports Outlook.com, including Hotmail, MSN, & Windows Live; Gmail; Google Apps, Yahoo! Mail, AOL Mail, and iCloud).

Very simple to use. 

You're welcome!

Gallery Block
This is an example. To display your Instagram posts, double-click here to add an account or select an existing connected account. Learn more


Posted on June 24, 2016 .

Fruits on the Bottom Chia Seed Pudding

I have been up-ing my game in my Ayurveda understanding and its applications.  Simplified, Ayurveda is a science of life and wellness.  One of the Ayurvedic wellness habits is to eat a healthy and easy to digest breakfast –though this isn’t exclusive to Ayurveda. 

My preferred breakfast is a green smoothie, but it is always good to have a few options in the week.  Recently I was re-introduced to chia puddings and realized how convenient it can be on those mornings I know I won’t have time to prepared a smoothie.

Very healthy, chia seed pudding is packed with protein, Omega-3, antioxidants and calcium.  You can get more benefits of this mighty seed by visiting this nice post by Marry Spencer via Health & Fitness Shops.  

It can be made under 5 minutes. I basically prepared it the night before so it is ready to eat or to go the next morning.

 This is my Fruit in the Bottom Chia Seed Pudding recipe:

 Ingredients - for one or two servings

·        1 cup almond milk

·        1/4 cup Chia Seeds

·        1/2 teaspoon vanilla extract

·       1/4 cup (or less) honey or stevia syrop (I should add that I don't like the taste of stevia at all but it's sweet)

·        1/3 cup of fruits (I prefer mangoes or strawberries)


Instructions

1.     For Blended/Smooth Version: Place all ingredients in blender minus fruits and blend on high for 1-2 minutes until completely smooth.

or

1.     For Whole Chia Seed Version: Blend all ingredients except chia seeds & fruits in a blender until smooth (including any added flavors, fruits or chocolate). Whisk in chia seeds.

2.      Place fruits at the bottom of a jar or glass container, then pour chia mixture and place in the refrigerator for at least 4 hours or overnight to let it gel.


Posted on March 25, 2016 and filed under Ayurveda, cooking, inspiration, wellness.

Turmeric Tea: healthy and delicious

Turmeric is an ancient root used for its healing properties for centuries. Turmeric comes from the root of the Curcuma Longa plant. To manufacture it, the roots of the plant are boiled, dried and then ground into a powder. Traditionally used in Chinese and Indian medicine (from killing fungus to curing cancer), the powerful anti-inflammatory and antiseptic qualities of turmeric have made it a precious commodity for ages! 

I also happen to love it's flavor.  Bitter, warm and sweet, Turmeric evokes oranges and ginger on a Galician landscape.  I have been using it in all my cooking for some time, but this tea inspired by Ayurvedic traditions is a great evening companion of late.


Turmeric tea

1 cup of Almond milk

1 tablespoon of turmeric

1 tablespoon of raw honey

1/2 teaspoon of coconut oil

Pour almond milk into a saucepan and warm for 2 minutes, add coconut oil, raw honey and turmeric powder. Continue to warm for another 2 minutes.  Stir well and pour into cup or glass. 


Posted on March 2, 2016 and filed under cooking, Yoga, wellness, yoga mat, Ayurveda.

Self-Myofascial Release: move better, perform better and have less pain

If you have been to my yoga classes in the last few years you probably have experienced  some self-massaging using rubber balls.  Or perhaps you have seen other self- massage instruments such as foam rollers or massage sticks at your gym, physical therapist’s office or your friend’s apartment. So what is the deal with Self-Massage?

This practice of Self-Massage is also known as Self-Myofascial release.  Myofascia is the connective tissue network that runs through your body.  You can learn more about fascia on my previous post So what is Fascia Anyway? In summary, Myofascia wraps around your internal organs and muscles and holds it all in place. I like the definition “it's the organ of form.”  

When there is trauma or injury to any area of your body or your “form,” it can lead to weakness or adhesions in your myofascia. This may limit your range of motion and can even compress your muscles and nerves, leading to less hydration and blood flow to those areas. This can lead to pain and/or injury and can impact your performance.  To heal and recover from this “form-traumas” you simply roll your bodyweight onto massage balls, foam rollers and other devices available out there. Like any other alternative medicine technique you must use your judgment, learn some basic technique from a trusted source, figure out what works for you, consult your doctor, etc.

Since I started working with  Self-Myofascial release about 10 years ago, I do some form of self-massage every day for 10 to 15 minutes. I roll my muscles pre- and post-workout and often before meditation or bed.  Doing this I’ve experienced relief from my back pain, plantar fasciitis, and my mental and emotional states have received the benefits as well. 

I can't stress enough all the mental and emotional benefits of Self-Myofascial release but here are 5 of the main physical benefits of self-myofascial release as listed in Love Life Surf :

1.      Increases blood flowResearch has shown that self-myofascial release can increase vascular function. By getting rid of knots and tension in the fascia that may be restricting fluid flow in the area, self-myofascial release techniques helps to keep your muscles and connective tissue well hydrated. That means that you’ll recover and heal faster.

2.      Improves muscular range of motionStudies have also shown that self-myofascial release can increase range of motion without decreasing muscle force or activation. By breaking up the adhesions in the fascia, your muscles and connective tissue can move more freely and you avoid muscle restrictions when you exercise.

3.      Reduce muscle soreness. With better circulation to your muscles and connective tissues, you’ll experience less muscle soreness.

4.      Maintains normal functional muscular length. Self-myofascial release relieves tension in the myofascia network and helps your muscles return to their normal length, improving muscle function.

5.      Encourages movement of your lymph – a major component of your immune system that helps to fight infection in the body. However, the lymph system relies on movement pressure to move the fluid. Self-myofascial release can encourage the flow of lymph back to the heart.

Ultimately, this means that you’ll move better, recover faster, perform better and have less pain so that you can continue to be active and do what you love to do.  I am more than happy to help you develop your own routine, just reach out to me.  

Posted on January 8, 2016 and filed under wellness, Ballwork.

Urban Monk Principles to Live by

I found the Monk Manifesto written  by  Christine Valters Paintner, a couple of days ago and it really resonated with me.  A re-occurring teaching from yoga is that the practice doesn't ask you to give up your life, quite the opposite, the invitation is to engage deeper into who you already are.  When I read the Monk Manifesto that is exactly why I feel the manifesto is conveying.

The Monk Manifesto: Seven Principles for Living with Deep Intention by Christine Valters Paintner

Monk: from the Greek monachos meaning single or solitary. A monk in the world does not live apart but immersed in the everyday with a single-hearted and undivided presence, always striving for greater wholeness and integrity.

Manifesto: from the Latin for clear, means a public declaration of principles and intentions.

Monk Manifesto: A public expression of your commitment to live a compassionate, contemplative, and creative life.

The Monk Manifesto

I commit to finding moments each day for silence and solitude, to make space for another voice to be heard, and to resist a culture of noise and constant stimulation.I commit to radical acts of hospitality by welcoming the stranger both without and within. I recognize that when I make space inside my heart for the unclaimed parts of myself, I cultivate compassion and the ability to accept those places in others.I commit to cultivating community by finding kindred spirits along the path, soul friends with whom I can share my deepest longings, and mentors who can offer guidance and wisdom for the journey.I commit to cultivating awareness of my kinship with creation and a healthy asceticism by discerning my use of energy and things, letting go of what does not help nature to flourish.I commit to bringing myself fully present to the work I do, whether paid or unpaid, holding a heart of gratitude for the ability to express my gifts in the world in meaningful ways.I commit to rhythms of rest and renewal through the regular practice of Sabbath and resist a culture of busyness that measures my worth by what I do.I commit to a lifetime of ongoing conversion and transformation, recognizing that I am always on a journey with both gifts and limitations.


Posted on September 4, 2015 and filed under inspiration, Meditation, wellness.

So What is Fascia Anyway?

Chances are that if you have taken my yoga class or come to my Roll+Restore workshops, you have experience some form of self-massage techniques AND you have also heard me talk about fascia, myofascia or connective tissue.  So what is FASCIA anyway?

unnamed.jpg

Way before I knew it as Fascia, I knew it as ‘energy.’ As soon as I began to teach Yoga, my eyes caught the whimsical forms that human bodies create or form. Individually and/or collectively my eyes were thrilled to find the fluidity and the fixedness of the student’s “space” or “energy.” I had no way of explaining what I was looking at till I learned about Fascia. Fascia in a simplified way  is a thin layer of connective tissue that encases your body under your skin. Your myofascia (muscular tissue) forms a system of continuous, three-dimensional, body-suit-like tension that gives your body its shape or form. This system spreads without interruption through the entire body. It actually wraps itself around every muscle, joint, and organ.

Fascia, as I understand it, is the organ of form. Fascia tissue holds patterns of physical and/or emotional tension that if unchecked, or through accidents, becomes injuries (physical injuries or emotional ones!).   These injuries and/or scared tissue cause the layers of fascia to tighten and stick together creating restriction and muscular pain. So for example when you have a stiff low back, often it isn’t damage to the muscle that is causing the pain, but a hardening or thickening of the fascia around the sacrum/lumbar region.  

Interestingly, in Ayurveda toxins or ama can accumulate through your Fascia and these toxins are the product of lifestyle choices or emotional baggage. 

The good news here in the west is that fascia is being recognized for its importance in maintaining a healthy, fit, toned, calm, and aligned body.   Through myofascial release techniques we can relax muscles and break “injuries" and/or release “toxins.” Releasing the stored tension in the fascia allows for cellular memories to be forgiven, relaxing your mind and allowing the body to enjoy better flexibility in every sense.

Posted on August 21, 2015 and filed under wellness, Yoga, Ballwork.